Latest Blogs
Cleaning and Sterilisation Best Practices for Surgical Equipment
To prevent the spread of disease or infection, it is crucial that a strict cleaning and sterilisation procedure is followed.
Following a surgical procedure, the cleaning process of all instruments and equipment should begin within 15 minutes to prevent any hardening of biological debris. If this is not possible, try to apply an enzymatic cleaner to start the decontamination process. (Vet Way Pro-Cleanse Enzymatic Cleaner)
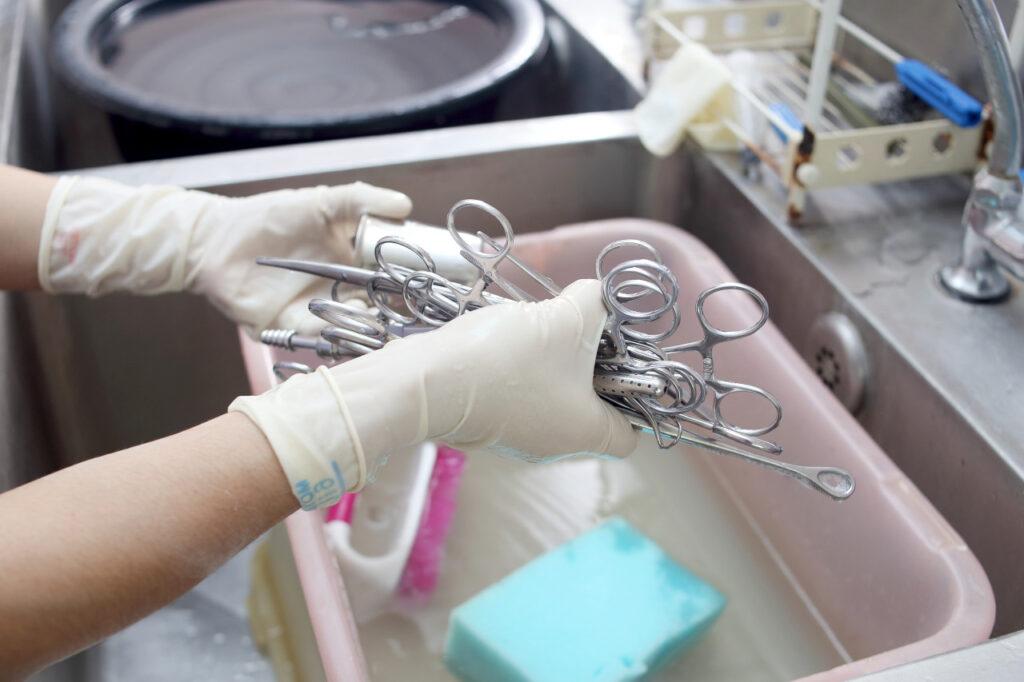
Wash all instruments with an appropriate Instrument Disinfectant (Vet Way Pro-Cleanse Instrument Disinfectant), the use of hand scrubs and other disinfectants may cause spotting or corrosion. While washing use an instrument cleaning brush especially around serrated or hinged areas.
Make sure you check all equipment for broken tips, cracks or missing screws etc. dispose of any questionable instruments as they are more likely to harbour bacteria or cause harm during future procedures.
Rinse all equipment thoroughly!
Place all instruments in an ultrasonic bath for approx. 20 minutes using a pH neutral solution. Ultrasonic cleaners clean more thoroughly than washing equipment by hand.
After cleaning, instruments should be rinsed off with purified, or distilled grade water (Vet Way H2O Distilled Grade Water) then placed onto a towel where excess water is blotted away. To avoid rusting, do not leave your instruments to air dry.
Once dry, spray hinges or joints of instruments with an appropriate lubricant.
Instruments are now ready to be placed into sterilisation pouches in an open position, this will allow full steam penetration to all areas and will also prevent cracking of the hinge area.
When loading your autoclave, place the heavier items on the bottom shelves. Sterilisation pouches should be spaced out and never stacking on top of one another.
Once the autoclave has completed its cycle, your instruments are now ready for their next job!
